@beginninganimator


Joined on October 4th, 2019, this user has been a member for 2,457 days and is the 26,591st person to register an account.
Has 35 submissions, the first one uploaded on October 9th, 2019 and the most recent on June 16th, 2023.
Of those, 12 have been featured and 24 have won Users' Choice.
On average, each submission earns 5,671 downloads.
In total, they have been download 198,491 times.
Counting every individual stickfigure, including the contents of all packs, this user has technically made and submitted 210 stickfigures.
On average, when this user rates stickfigures, they are 94% positive.
Also, they are typically 100% positive when rating animation spotlights.
Has made 546 comments on non-activity pages of the site. Alternatively, this user has made 14,977 comments on actual activity pages of the site.
This member is not a Users' Choice voter.
Show More D.O.H.D | Development of Hyper-realism Dynamics.Owner
 THE NODIUM | ?Owner
 Beauty Is Everywhere - StickFigure Request.Owner
 𝗦.𝗡.𝗨 – 𝗣𝗿𝗲 𝗝𝘂𝗹𝘆 𝟮𝟬𝟮𝟮 𝗗𝗮𝘁𝗮𝗯𝗮𝘀𝗲 🚫 [ ᴏᴜᴛᴅᴀᴛᴇᴅ ɢʀᴏᴜᴘ ] 🚫admin
 Quesoadmin
 #TeamDemonadmin
 Rene’s Groupadmin
 StickNodes Movies!admin
 Big Black Man (changed title cause the original was unbearably cringe, still a dead group tho.)admin
 Africa Campaignadmin
 The Cat Cultadmin
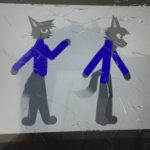 The role play groupadmin
 The Jayingee Youtube Fan Groupadmin
 Flamingo YouTube Fan group./Flamingo memesadmin
 Achlon Theatermod
 The Profile Rankersmod
- OCs Battlesmod
 Cold weather peepsmod
 Chill Boismod


-
 Replying to comment by:
the new ratatoullie teaser lookin kind of good
-
Replying to comment by:
Okay in all honesty this shit has to stop. I cannot stand these grudges that still stand on this website.
Quit being a defect embodiment of your own species and be mature for once in a while instead of arguing against each other.
No offense.Please just make a truce with each other or leave each other alone.
If they don’t like you, they don’t like you. Stop bothering them, stop trying to become friends with them.Quit fucking around or they’re never gonna care about a word you say.
You’re making this worse, i’m not taking sides but one person on the side of this has to stop.The egotistical capacity of this lowers my expectations for humanity.
Ignore each other and stop talking about each other for all i care. -
Replying to comment by:
Note: Hand-made shadows are a method i actually don’t use. But i’m just acknowledging it’s existence.
Possible questions to answer: How does this apply to all figures?
all of shading i’ve said so far can really apply to anything. Its just that it would be more like copying & pasting the figure then turning it into a shadow to put behind the figure. But this works better applied to specifically shapes like planets.
-
advanced shadows. (Hand-made shadows & going beyond the limits)
Since we’ve covered the structure of the shadows, its time to make it look good. I don’t suggest the smaller-circle idea so it’s not going to be done at the moment.
1. Now for this, i’m allowing blur to extend up to 1.00 since it looks good using the half arc method. (In some cases)
You don’t have to really care about background shadows, in most cases its not to be noticed. This pretty much makes it looks twice as better but if you want to add a decent effect, you can add multiple shadows. Duplicate it and put it behind the original shadow. Blur until it blends in with the first shadow. Imo this looks pretty nice.2. Now the problem with the line-method shadow is that it requires a black background to work. So, lets talk about hand-made shadows.
Create a circular shadow. Work off a circle to keep in shape but delete it once you’re done with the shadow. Once you’re finished with it just apply the same properties and you’ll be good.
(note: mine’s isn’t the best, this is mainly just an example of what you can do.)
Results:

-
Replying to comment by:
Yes, you did pretty good. The two that aren\’t the bottom could use a bit more blur tho. Also slightly darker.
You are now level 1.
-
Replying to comment by:
I doubt it.
Unless if you don\’t have cooperative friends, the likelihood is:
Trolls who ruin the entire figure.
Bad fig makers who destruct the figure altogether.
-
Replying to comment by:
I agree
-
Replying to comment by:
Things to note that i couldn\’t get into the post:
(Shading an object, not casting shadows. I don’t really like to talk about this one since it’s complicated and heavily limited.)
This is for 1. :
(However, blurring this arc could cause errors. Be aware that your arc might also have to account for a little bit of background shadow, that is if you don’t mind the small amount of light sticking out at the end of the ball. Not necessarily the topic for today, but just a warning.)
This is for 2. :
(Once again, might account for background shadow. This one is also heavily limited to a few variations of appearances, so i don’t recommend this in all honesty.)
There are solutions such as creating figures designed for specific types of shadows (Which i’m going to get into later), but this seems to be as far as it goes without that idea.
-
(Shorter post.) (Go to the one below if you want a more in detail analysis.)
1. use an arc and put it on the side opposite to your light source. Blur it to an extent that doesn’t make it too pixely.
Depending on how dark of the surroundings you’re going for will determine the opacity. The lighter the background the lighter the shade. The darker the background the darker the shade. But under some circumstances you might want to have it oppose the shade of the background.2. Another method is to add a smaller ball on once again the side opposite of the light source. The same methods of filter properties apply.
3. What you have to do is get a line, size it up to a scale that can cover most of the ball. Stretch it across the side opposite to the light source.
The same properties for filters could apply.
This method could open more dynamic possibilities when it comes to shading a shadow, but its limited to only black/dark backgrounds.Results:


-

thank you collision
very cool
2021-10-10 22:01:03 UTC -
Things to note that i couldn’t get into the post:
(Shading an object, not casting shadows. I don’t really like to talk about this one since it’s complicated and heavily limited.)
This is for 1. :
(However, blurring this arc could cause errors. Be aware that your arc might also have to account for a little bit of background shadow, that is if you don’t mind the small amount of light sticking out at the end of the ball. Not necessarily the topic for today, but just a warning.)
This is for 2. :
(Once again, might account for background shadow. This one is also heavily limited to a few variations of appearances, so i don’t recommend this in all honesty.)
There are solutions such as creating figures designed for specific types of shadows (Which i’m going to get into later), but this seems to be as far as it goes without that idea.
2021-10-10 22:04:41 UTC
-
Replying to comment by:
Woiod be white
I did that but it was hard to see so i\’m temporarily going to use a dark color until i find a solution.
-
Replying to comment by:
This figure currently isn\’t finished so far.
-
Replying to comment by:
Well this does take place 8 years from 2018.
-
(Scroll to bottom for image results on shadows)
I apologize for all of the invites, sorry if you didn’t want one.
But anyways, even tho its Sunday i’m going to post weekly guides on Stick Nodes art.
To start off with one, let’s start off talking about something that i’m going to be going over for a few weeks.
Lighting.
Lighting is the fundamental part of Stick Nodes art really, but it can be hard to replicate it with reality.
So, we are going to go simple for a start.
=======================================
Shadows (Shading an object, not casting shadows. I don’t really like to talk about this one since it’s complicated and heavily limited.)
=======================================
Shadows aren’t really complicated, they’re actually really easy. (Relatively)
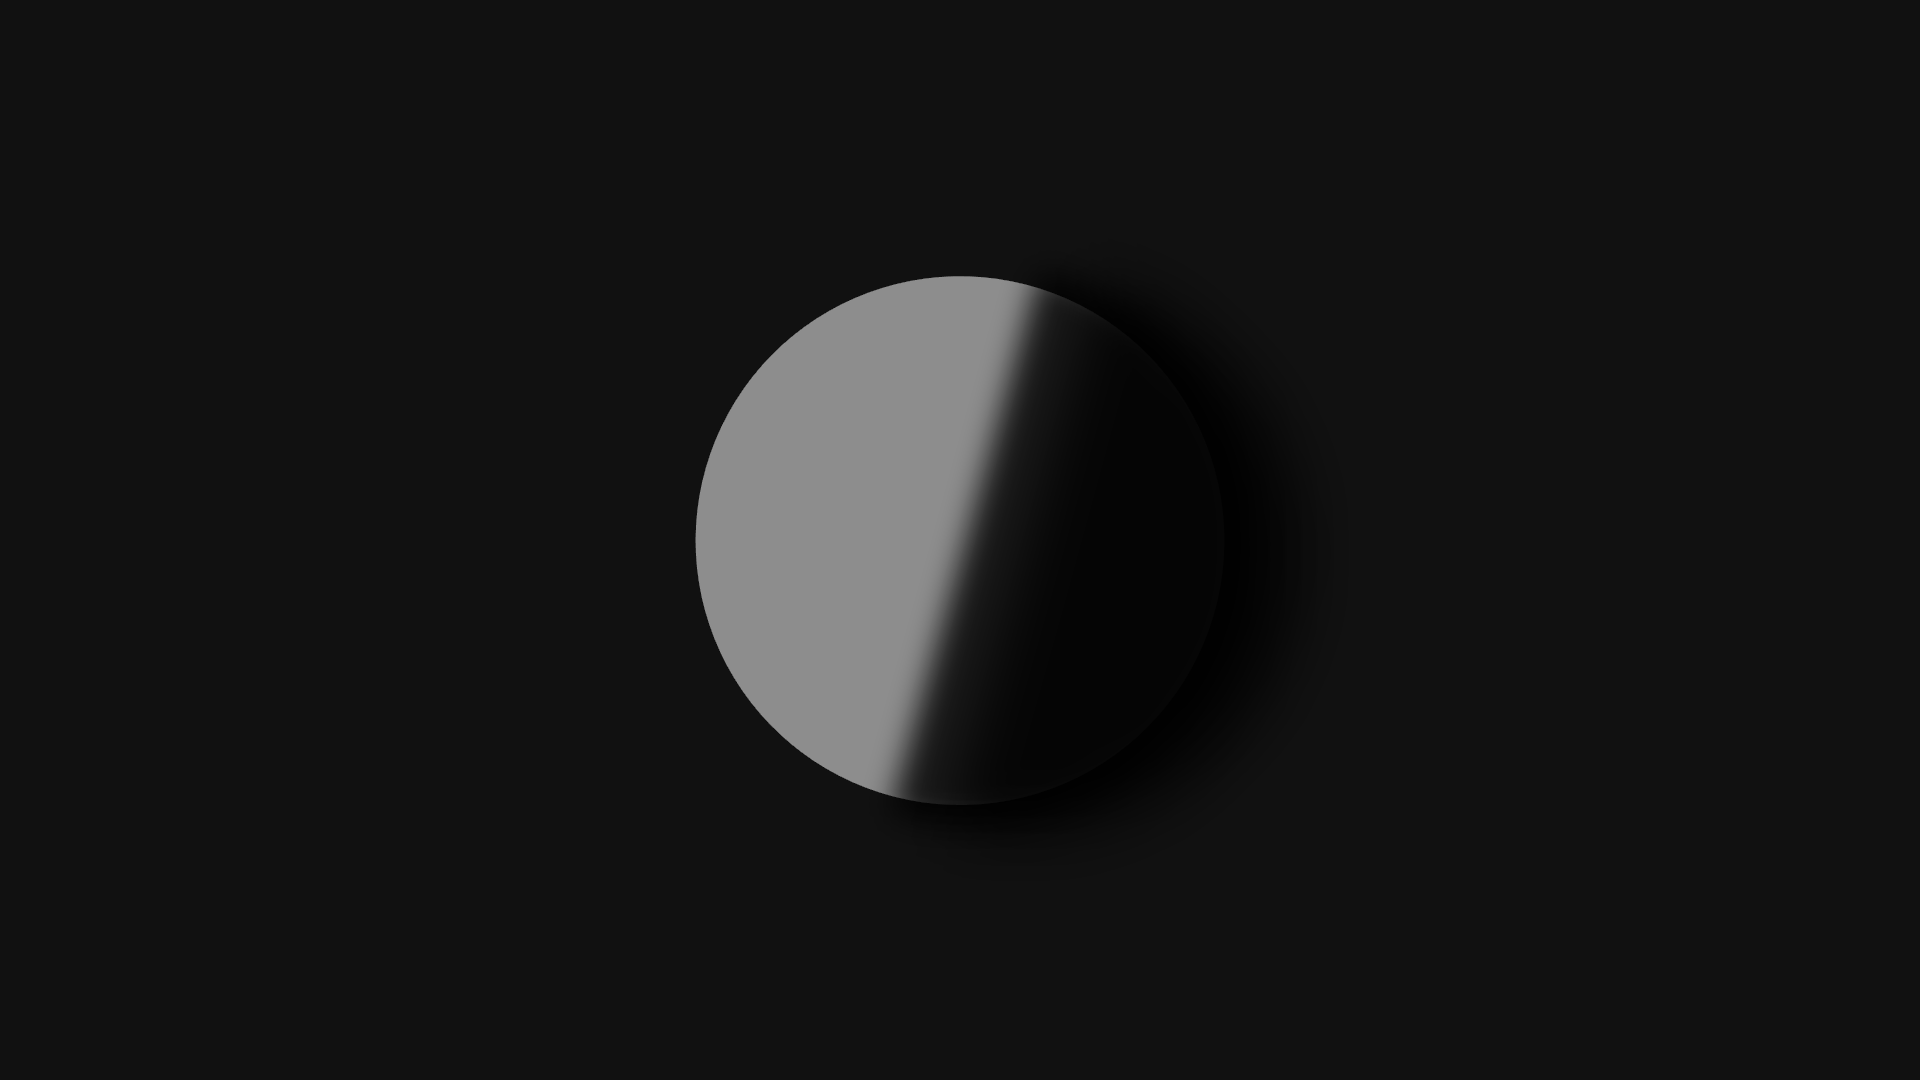
In case if you don’t know, i’m going to show you how to create a basic shadow.For this reference i’m going to use a ball.
How exactly do you shade this ball?
One method is to use an arc and put it on the side opposite to your light source. Blur it to an extent that doesn’t make it too pixely.
Depending on how dark of the surroundings you’re going for will determine the opacity. The lighter the background the lighter the shade. The darker the background the darker the shade. But under some circumstances you might want to have it oppose the shade of the background. (However, blurring this arc could cause errors. Be aware that your arc might also have to account for a little bit of background shadow, that is if you don’t mind the small amount of light sticking out at the end of the ball. Not necessarily the topic for today, but just a warning.)Another method is to add a smaller ball on once again the side opposite of the light source. The same methods of filter properties apply. (Once again, might account for background shadow. This one is also heavily limited to a few variations of appearances, so i don’t recommend this in all honesty.)
That’s as far as it really goes if you want to stay clean.
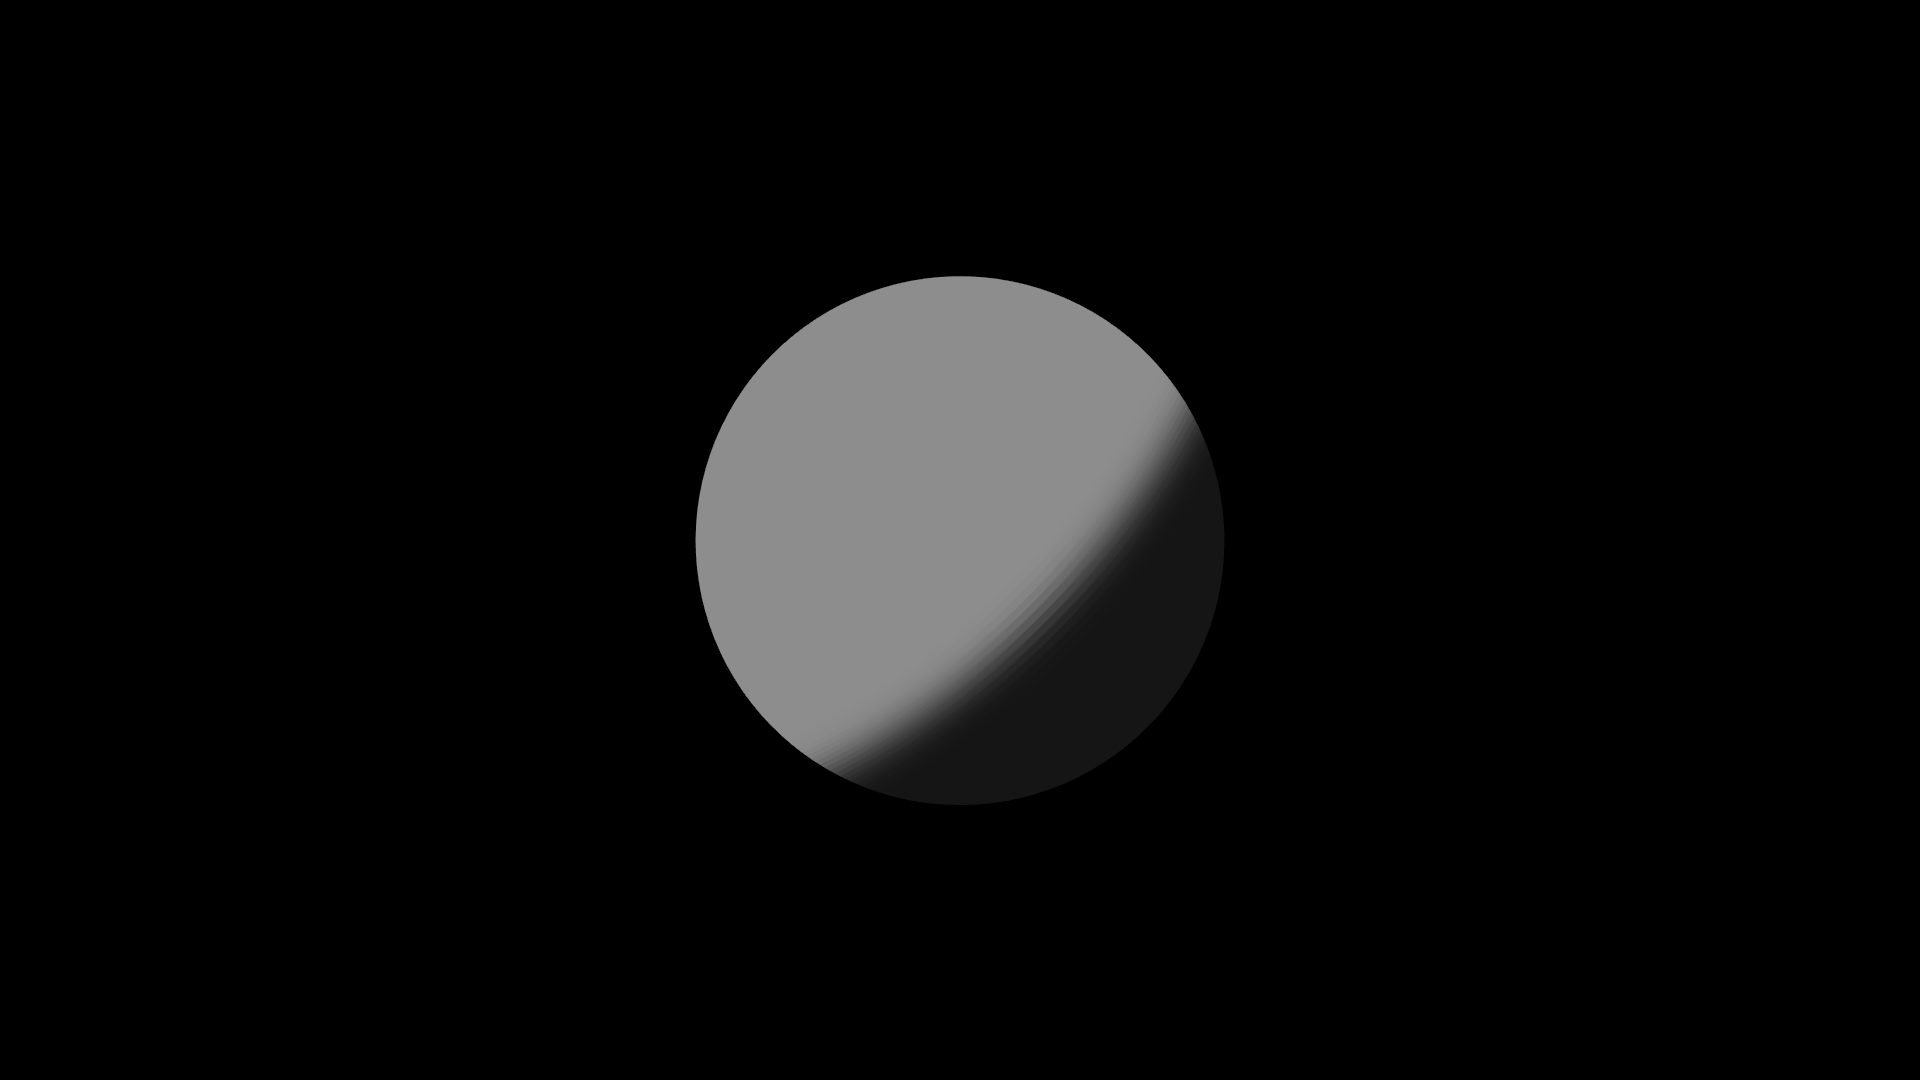
But there is a complicated method that you should only really use for black backgrounds.
What you have to do is get a line, size it up to a scale that can cover most of the ball. Stretch it across the side opposite to the light source.
The same properties for filters could apply.
This method could open more dynamic possibilities when it comes to shading a shadow, but its limited to only black/dark backgrounds. That is unless you make the shadow the color of the background, but then it wouldn’t really be darker.There are solutions such as creating figures designed for specific types of shadows (Which i’m going to get into later), but this seems to be as far as it goes without that idea.
=======================================
Results (in order)


-
Collo created the group
 Collision's Fine Art Academy. 4 years, 8 months ago
 -
Replying to comment by:
Hey, whats up.
Welcome back.
- Load More


Note: Hand-made shadows are a method i actually don’t use. But i’m just acknowledging it’s existence.
Possible questions to answer: How does this apply to all figures?
all of shading i’ve said so far can really apply to anything. Its just that it would be more like copying & pasting the figure then turning it into a shadow to put behind the figure. But this works better applied to specifically shapes like planets.